
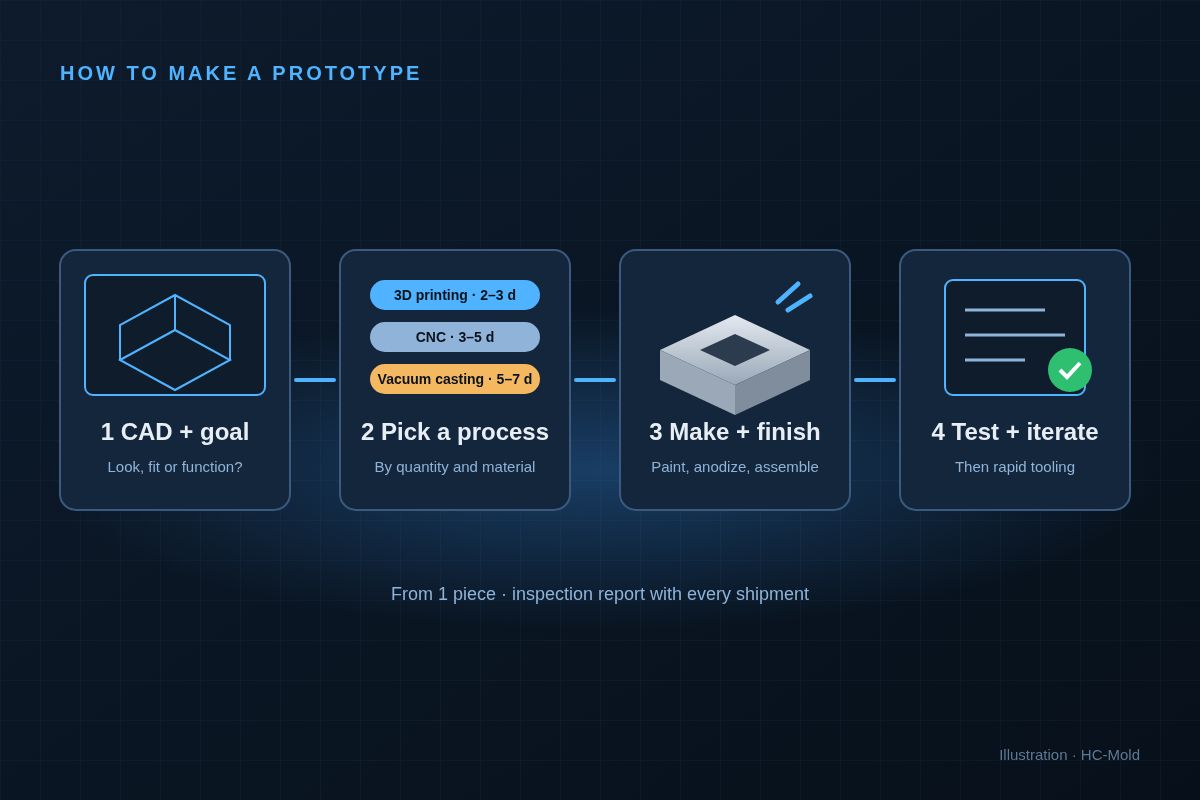
To make a prototype: decide what it must prove (look, fit or function), finish a 3D CAD model, choose a process that matches the quantity and material (3D printing in 2–3 days, CNC machining in 3–5 days, vacuum casting in 5–7 days), add the finish and assembly the test needs, then inspect, test and revise the design before you invest in a production mold.
This guide follows the path a physical prototype takes at a prototype manufacturer, from the CAD file to a finished part you can test. It is written for product developers, engineers and inventors who are about to order their first prototypes, and it ends where most projects go next: tooling and production.
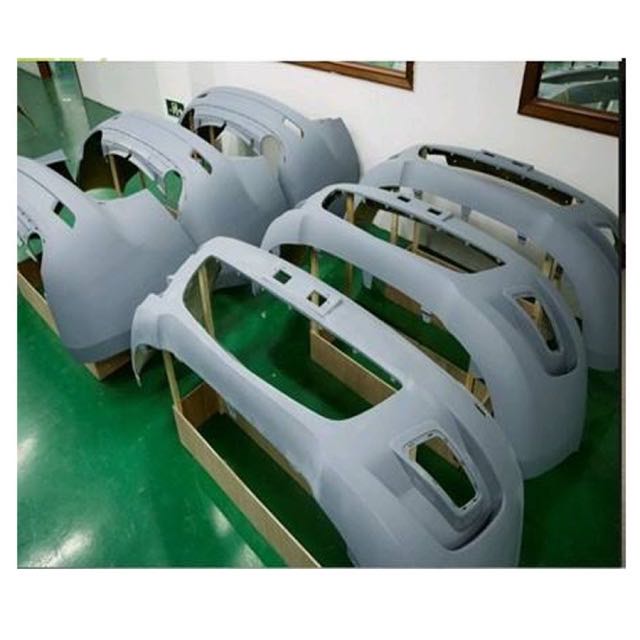
Step 1: Decide what the prototype must prove
A prototype is a test, so start with the question it has to answer. The answer decides the process, the material and the cost.
| Prototype type | What it proves | Usual process |
|---|---|---|
| Looks-like model | Shape, size, color and appearance for design reviews, photos or investors | SLA 3D printing, painted |
| Fit prototype | That parts assemble with each other and with bought components | SLA, SLS or MJF printing; CNC for tight fits |
| Works-like (functional) prototype | Strength, heat, wear or mechanical function under real loads | CNC machining in the production metal or plastic |
| Pre-production samples | Molded look and feel for user trials, certification or pilot sales | Vacuum casting or rapid tooling |
In our own inquiries, this is where most projects start. Of the 30 prototype requests sent through our website RFQ form, 17 asked for a working or assembled prototype rather than a single part, and 23 already asked about tooling or mass production in the same message. Plan the prototype with the production route in mind.
Step 2: Prepare the CAD files
- 3D model: STEP or IGES for CNC machining and molding; STL is enough for 3D printing. SolidWorks files are also accepted.
- 2D drawing (PDF): only the critical dimensions, tolerances, threads and surface requirements. Everything else can follow a general tolerance.
- Assembly: if parts fit together, send the assembly so fits and clearances can be checked.
- Notes: material or required properties, color, finish, quantity and the date you need parts.
If you only have a sketch, an engineering partner can model it, but expect an extra round of review. If the design is not yet protected, ask for an NDA before you send files; 12 of the 30 prototype requests we received raised confidentiality up front. See IP protection and NDA.
Step 3: Choose the prototyping process
| Process | Lead time | Quantity | Best for |
|---|---|---|---|
| SLA 3D printing | 2–3 days | 1–10 | Fine detail, smooth surfaces, clear parts, looks-like models |
| SLS / MJF 3D printing | 2–3 days | Small batches | Tough nylon parts, snap fits, small functional batches |
| CNC machining | 3–5 days | 1–50 | Production metals and plastics, tight tolerances to 0.005 mm, functional tests |
| Vacuum casting | 5–7 days | 10–500 | Molded look and feel, colors, soft-touch, small series |
| Rapid tooling | About 15 days for the tool | 500+ | Parts in the real production resin for pilot builds |
Many projects combine processes: a CNC machined housing with SLA-printed buttons, or vacuum cast covers over a machined frame. More detail: SLA vs SLS vs MJF and vacuum casting.
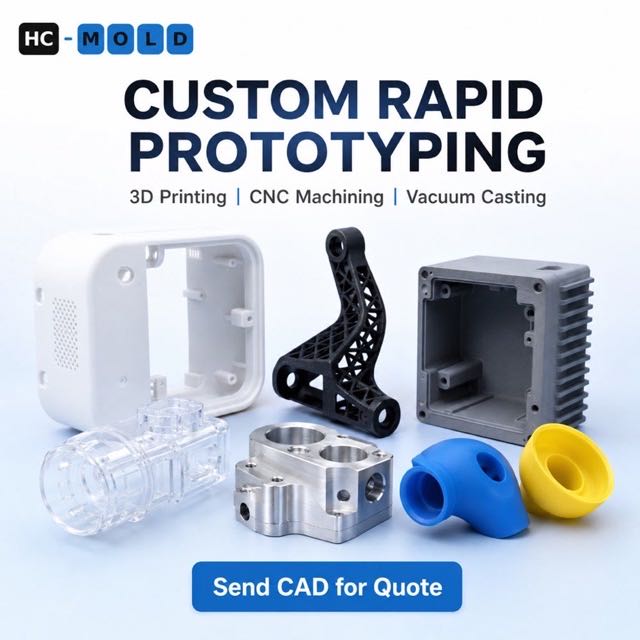
Step 4: Get a DFM review and a quote
Before anything is made, an engineer checks the files for features that are hard or expensive to make: thin walls, deep pockets, sharp internal corners, undercuts and tolerances tighter than the function needs. At HC-Mold the DFM review is free, and a complete package gets a reply within 12 hours and a quote within 24 hours, often with a cheaper alternative process.
Ask the reviewer to flag issues that will matter later in production, such as draft angles and wall thickness for injection molding. Fixing them in the prototype stage costs nothing; fixing them after the mold is cut costs steel. See the plastic part DFM checklist and CNC design for manufacturing.
Step 5: Make, finish and assemble
The parts are printed, machined or cast, then finished to match the purpose of the test:
- Surface: sanding, bead blasting and polishing to remove layer lines or tool marks
- Color and coating: painting, soft colors in cast resin, anodizing on aluminum, plating
- Graphics: screen printing and laser marking for logos and labels
- Assembly: inserts, fasteners, gluing and fitting bought components so the prototype works as one product
Step 6: Inspect, test and iterate
Each shipment from HC-Mold comes with an inspection report, so you know whether a problem is in the design or in the part. Test the prototype against the question from step 1, record what failed, and update the CAD. Two or three rounds are normal; changing a 3D print or a CNC program is quick and cheap compared with changing a mold.
Step 7: Move from prototype to production
Once the design is frozen, the usual path is:
- Rapid tooling in about 15 days for pilot builds and launch quantities in the production resin.
- Production mold in 25–35 days, with T1 samples and a dimensional report. See sample process.
- Injection molding or die casting from 500–1,000 parts per run upward.
Keeping prototypes, tooling and production with one factory carries the approved drawings, materials and inspection methods straight into production. Read prototype to production in the same factory.
How much does a prototype cost?
Prototype cost depends on size, process, material, finish and quantity. Printed looks-like models are usually the cheapest; machined metal parts and painted, assembled prototypes cost more; vacuum casting becomes economical once you need about ten or more identical parts. The fastest way to reduce cost is to prototype only the parts that answer the test question, and to relax tolerances that do not affect it. For CNC pricing factors, see how much does CNC machining cost?
FAQ
How do I make a prototype of my product?
Define what the prototype must prove, prepare a 3D CAD model, choose a process (3D printing, CNC machining or vacuum casting), have it made and finished, then test it and revise the design before tooling.
How long does it take to make a prototype?
3D printed prototypes take 2–3 days, CNC machined prototypes 3–5 days and vacuum cast parts 5–7 days. Assembled or painted prototypes take a few days longer.
Can I order just one prototype?
Yes. CNC machining, 3D printing and vacuum casting all start from 1 piece.
How do I make a prototype of an invention without a CAD model?
Start with sketches and key dimensions; an engineer can build the CAD model, which you then review before any part is made. Ask for an NDA before you share the idea.
Which prototyping process is closest to an injection molded part?
CNC machining in the production plastic for function, vacuum casting for molded look and feel, or rapid tooling when you need parts in the actual production resin.
Get your prototype quoted
Send your 3D files and tell us what the prototype has to prove. We sign an NDA before review and quote within 24 hours on a complete package. See our rapid prototyping services.
Written by HC-Mold Engineering Team · Last updated: 2026-11-01
Talk to HC-Mold engineering
Free DFM · reply ≤12h · quote ≤24h on complete RFQ · ISO 9001:2015 · Dongguan, China